Early in September I had the opportunity to spend some time at Green’s Books learning from conservator and bookbinder Arthur Green. This is part of my Queen Elizabeth Scholarship Trust funding and had the intention of building up my knowledge of book repair from a conservation perspective. Arthur has a diploma in conservation and built up his experience at the British Library and Bodleian, amongst others, before opening his own shop — he knows his stuff. I was really looking forward to it and hoping that the current pandemic would remain in check enough that I would be able to travel. Fortunately it did.
Carefully measuring methyl cell (photo by Arthur Green); repaired scarf tear resting under glass weight; toned cotton and kozo.
After playing at being chemists making paste and size we started with paper repair, both scarfed and clean tears, using Japanese tissue on the clean tears. Dealing with these tears with these materials was not new to me, I’ve done many in the past. But here we used a small slice of the thinnest of tissue and paste that we’d made earlier. The kozo I’ve used before has been slightly thicker, as has been the paste. It was proof of concept of just how much the materials matter: this repair was all but invisible. I was concerned that such a small scrap of kozo combined with the wet paste would be impossible to work with. It was tricky, but Arthur has the technique down to a science and was able to show me how to do it successfully.
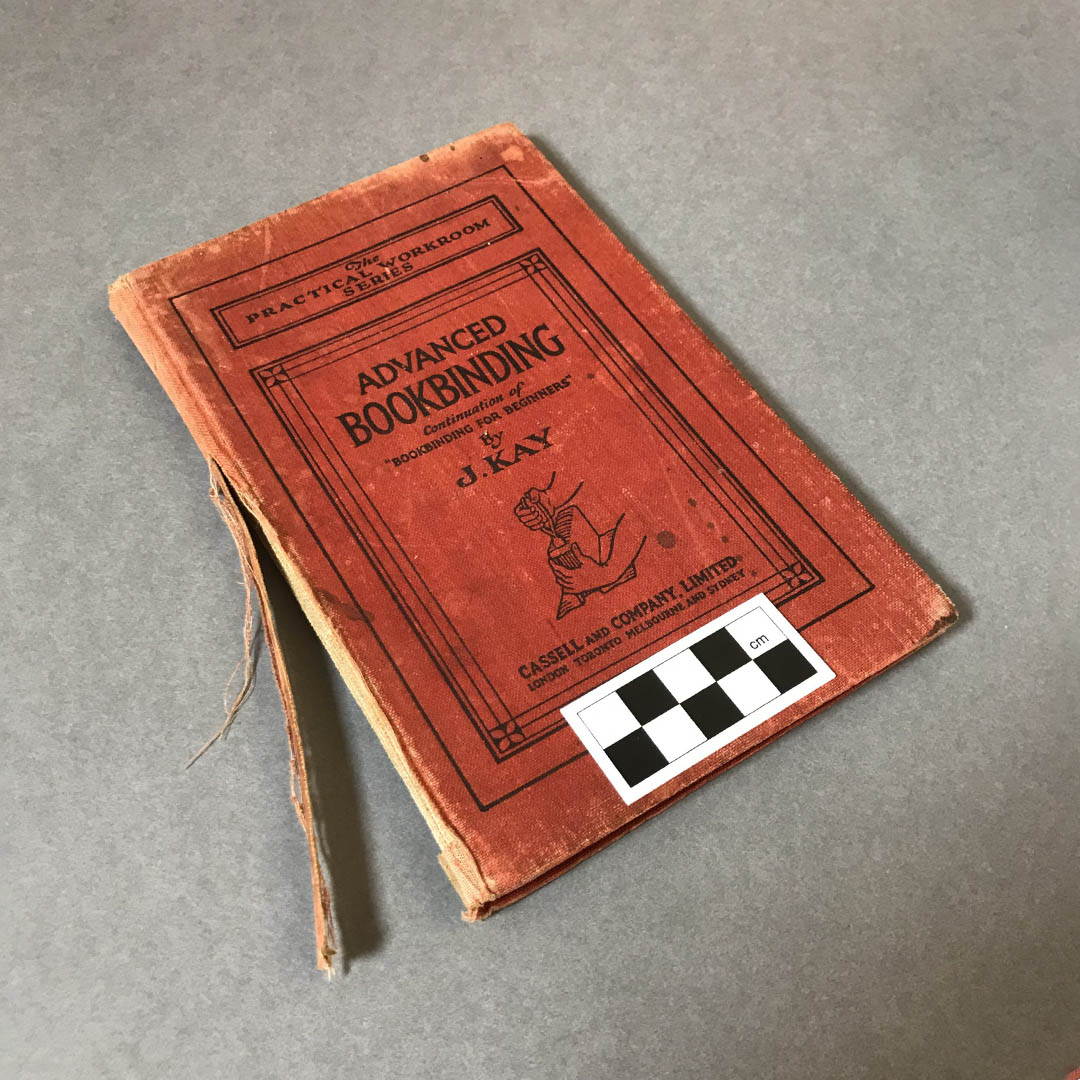
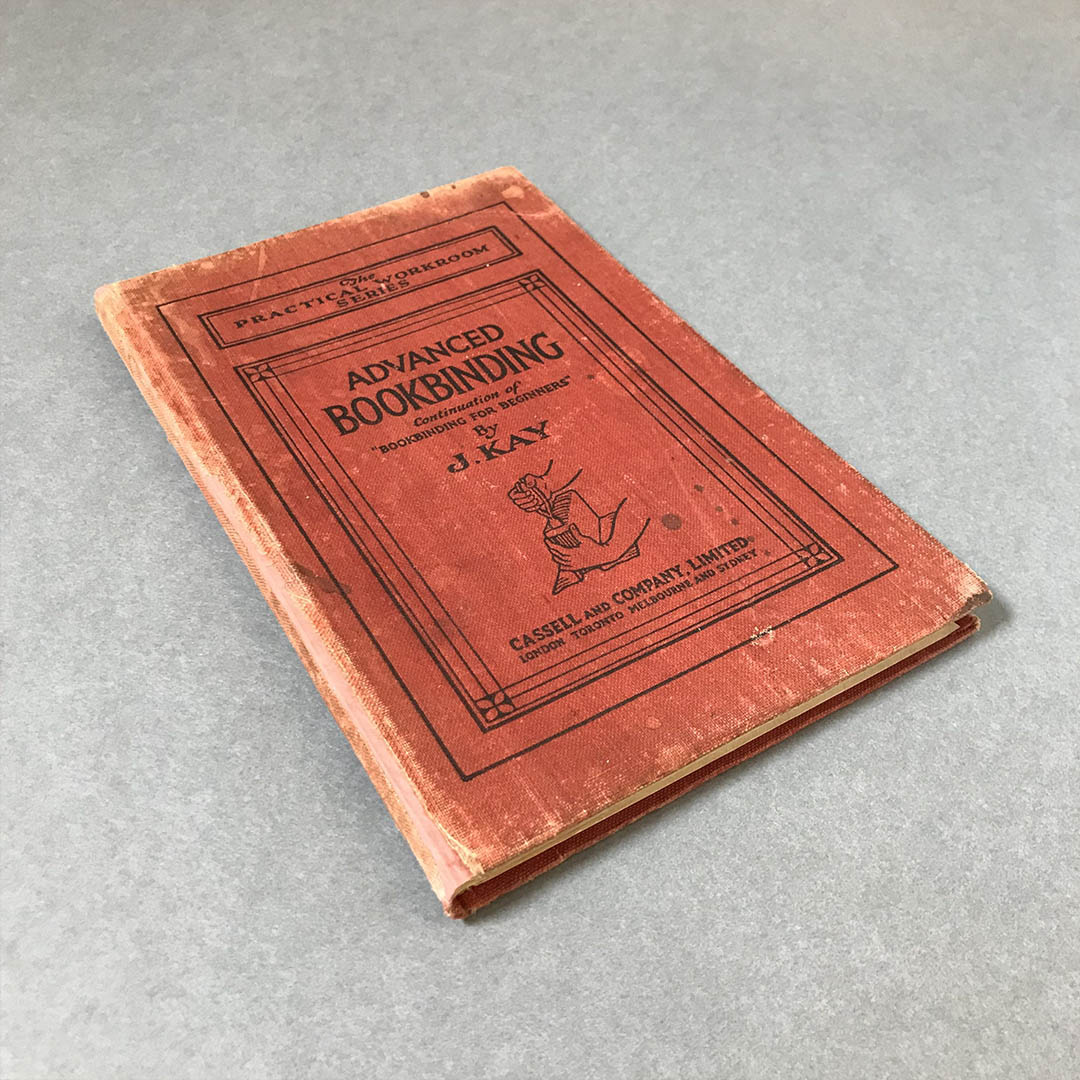
Although we tinted both cotton and paper, that was more for the practice than anything, as it would be the paper that we would use on the book. The original book had not been sewn on supports but we wanted to add these in the repair for strength. The damage to the book’s spine had not actually broken clean through the hinge on either side, so we would need to work within the limitations of the original width of the casing — which, of course, did not have space for supports. So thin linen tapes, a thin linen slotted lining, and the tinted kozo were used in order to maximise the available space. And fortunately it all fit.
I had also brought another damaged case binding, which upon close inspection turned out to be hand sewn on cords before being cased in. The book is from the late 1800s, so would be a fairly early example of a case binding, before the whole process became mechanised with machine sewing. This one had bumped corners, a pretty severely skewed spine, and something that used to be living still curled up at the head of the text block against the case. First order of business was evicting the previous resident.


This book was a good example of looking much worse than it was. The misshapen spine and dustiness hid a book that was otherwise in reasonable shape. There was only foxing on the first and last few sections, one plate that was coming loose, and one section that needed sewn back in. The joints were split but the remainder of the sewing was in good condition. Once the spine lining was removed, the book was very willing to resume it’s proper shape.
The spine lining itself was another learning opportunity/deviation. I have such an affection for printer’s waste that’s been used within bindings, and there was a stellar example on the spine of this book. Although it was entirely unnecessary we decided to attempt to save the spine lining, just for the experience. Happily I was able to get the entire lining off in one piece, and then remove the mull from the printers waste before reinforcing it with kozo. The printers waste lining went back on the spine of the book later in the process. That absolutely no one will see it doesn’t matter at all. Knowing it’s there brings me great joy. And I now know the process for saving a spine lining should I ever need to again.
Scraping the Tylose poultice off the spine (photo by Arthur Green); carefully peeling up the lining (photo by Arthur Green); nice clean spine; spine lining replaced on repaired book.
A wee mishap with too much moisture and a nipping press also presented the opportunity to learn some more in-depth paper repairs. But we won’t go into that! Even this was a good experience, though, we were able to reverse the damage and it was an excellent lesson in adaptation and problem solving. And gave me some hands on practice with some high level paper repair techniques I wouldn’t have otherwise.
Arthur’s studio is very well equipped and he’s an excellent teacher. He took the time to fully understand what I was wanting to accomplish in our time together and where my level of skill was. He really took advantage of every minute of teaching to throw knowledge in my direction, which is exactly what I was after — I wanted to glean as much information and experience as humanly possible in a short period of time. Between the knowledge he shared with his suggested readings and the time I spent at his studio I feel as though I’ve levelled up to a whole new plane of capability in terms of my bookbinding. Just need to put it in practice now.

Slotted spine lining in place on Advanced Bookbinding, in Arthur’s beautiful Olive & Oak laying press.


